Comic conventions are amazing, but they're better when you're cosplaying!
I dressed up as the TARDIS, as seen in Doctor Who in this last Mumbai CC. I've been planning to write a post on a DIY TARDIS dress ever since, and I've finally managed to do it.
Here are some ways by which you can make your very own TARDIS costume! :)
Materials needed:
1. A TARDIS blue dress/ blue fabric.
2. Black fabric.
3. White fabric.
4. Long Blue/black satin ribbon.
5. Fabric/handicraft glue! (Uber-important.)
6. Heat transfer paper.
7. One sided-sticky book labels.
8. Clothes iron.
9. Black paint. (Tempera paints are preferred!)
10. Other essentials like, cello-tape, threads, needles, sharpies, scissors.
11. Accessories, like shoes, headbands, a TARDIS key, etc.
Step 1: Figure your design out.
This might include sketching countless designs on a notebook. There's a lot of TARDIS inspiration online. So get your creative hat on and scribble away. Make sure your designs incorporate your body shape, and material of the fabric that you will be using.
If you are happy with your designs, you can go ahead and stitch the fabric up into a dress. I personally spent a lot of time designing, but ended up purchasing a perfect TARDIS blue gown instead. It was almost like the dress I had imagined myself to be in, so yes. That saved me a lot of extra time and trouble.
Step 2: The black boxes.
After ironing your dress, spread it out on your workspace. The lower portion of the dress needs the black boxes, that we will have to paint in. For this, create a stencil using cello-tapes. This is how I stuck it onto the dress. Two strips of tapes, centring a perfect little box, pasted about 1-2.5 centimetres apart.
Make sure you measure the length of the dress, before fixing up the cello-tapes. Perfect squares are easy to make, but you can try and make the boxes slightly asymmetrical, shorter in length on the top, and a tad bit longer on the lower ends. This will give your dress a better perspective.
The next job is easy to do! Just paint in the space between the strip of tapes with your black tempera. I chose tempera paints because they are mostly washable. (You might want to test paint and wash it off before you paint all the boxes up though.) Wait for the paint to dry, 10 minutes are enough, really. Peel off the tapes and stand in awe of the little boxy glory that you've just painted yourself.
Step 3: Windows.
Take the white fabric and cut them according to the shape of your dress. If yours is a square dress, you can go for squares as windows. Mine was a halter neck, so I needed to cut them out in a trapezium. Place the fabrics onto your dress and make sure they fit! (Yes, yes, it should keep the same shape once you've worn it too.)
Sew in at the edges! White thread's good. I didn't use a sewing machine for this because I wasn't really planning to stitch the windows on the dress forever. Handmade stitches are easier, if not more cleaner, to remove.
Next, cut up the blue or black ribbons into tinier strips, and place it along the edges, and on the white fabric. If you're happy with what you see, simply glue the pieces on. Wait for a long while as they dry out, and just like that, you'll be done with the windows.
If tampering with the blue fabric isn't a great deal, you can always machine sew the white fabric, and also the blue ribbons right in. Thin black, blue strips of fabric could be use as a replacement for the ribbons, but ribbons have an extra gloss on them, so they do look a bit more shiny.
Step 4: Transfer paper to the rescue. (Pull to open!)
So I saved the image needed to be printed on the transfer paper from here -
And if you want to be the eleventh Doctor's TARDIS -
(I heart DeviantArt.)
Flip these images using photoshop or any other software. Before printing this flipped image, make sure that its shape, size is perfect for it to fit in the upper black box that you've already painted. You might need to edit the image a little.
Print the image out using a transfer paper. You can get a transfer paper from most stationary shops!
Place it on a white fabric, printed side down, press along upper edge of the transfer paper using an iron. Keep this up for some 5 minutes, or more. When the paper it warm enough, allow it to cool.
Peel off the transfer paper, and lo and behold! Your image will be on the white fabric! Just the way it is supposed to be.
Cut the fabric out in the shape of your little black box. Sew it on by the edges. Fix some more blue/black ribbon around its edge, and you'll be done!
Step 5: The Police Public Call Box.
Take the black fabric and cut it out in a long rectangle. This can either be stuck onto your dress, or worn around the neck, or over one shoulder (Like I did). I used velcro at the ends of the rectangle so that it's easily to wear it around, or remove.
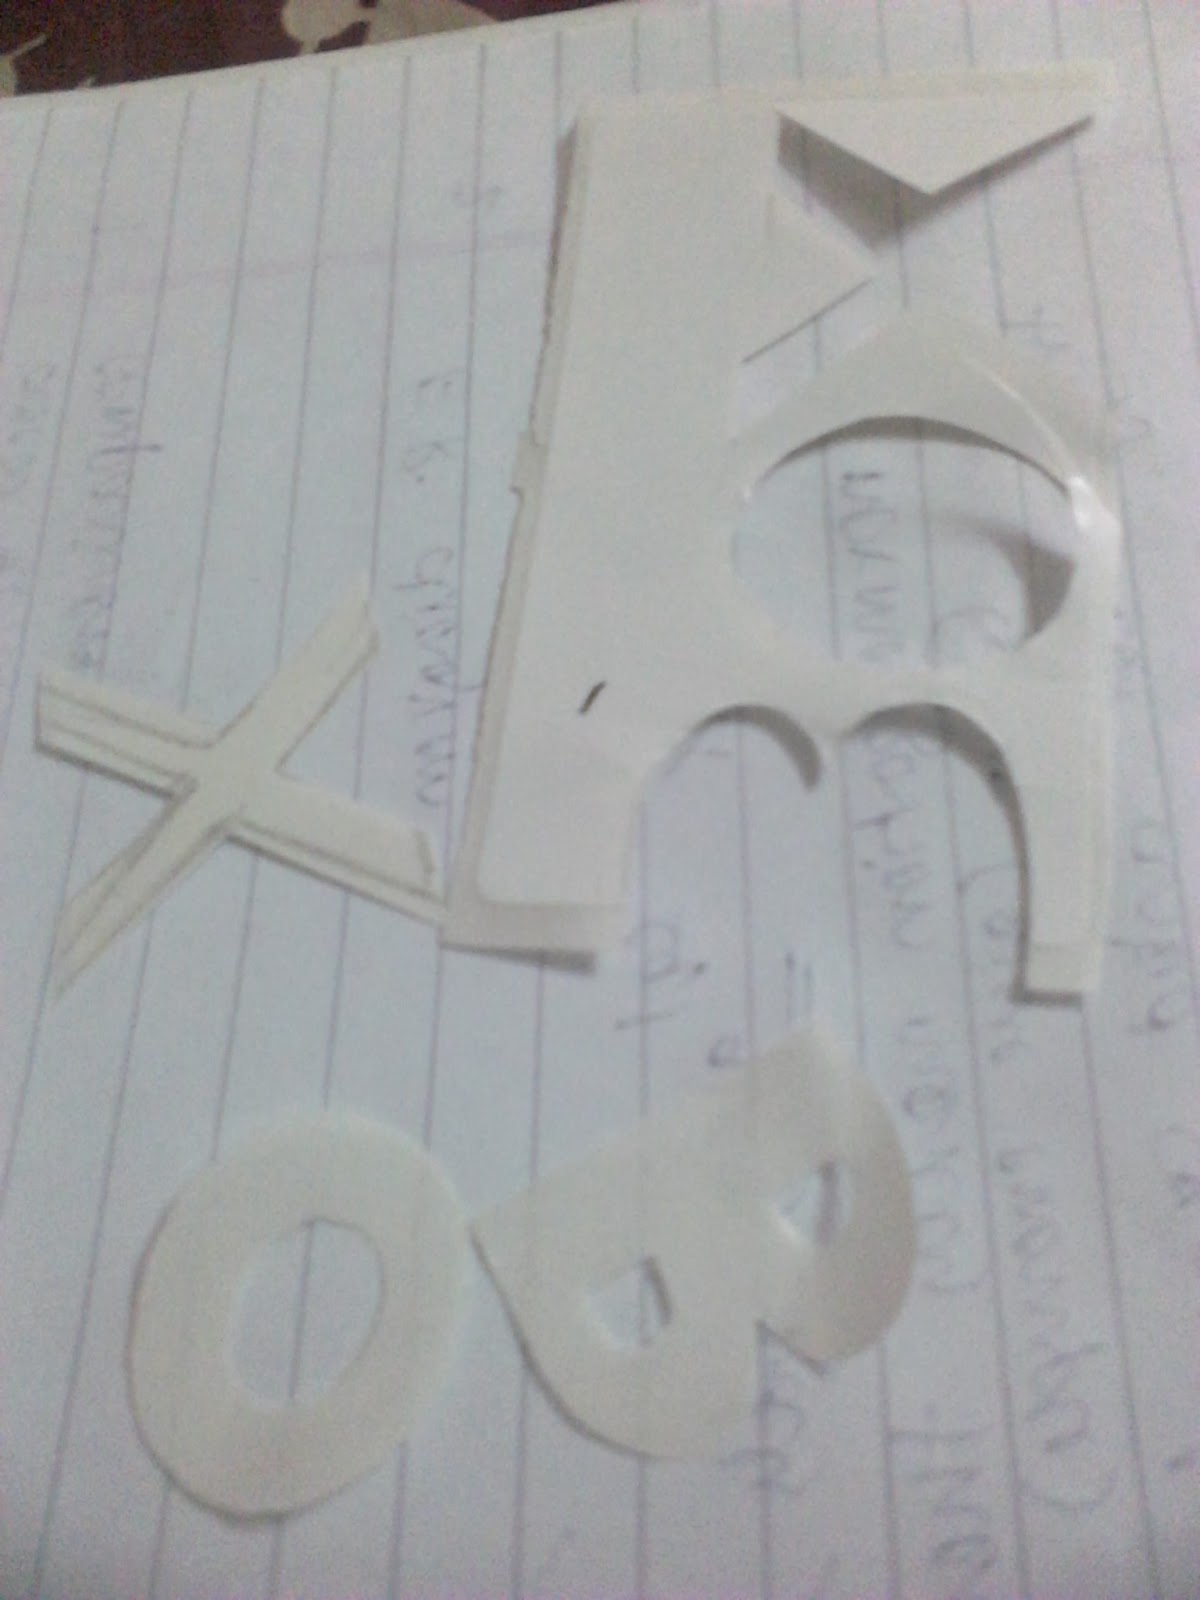
Take the labels and cut out the letters of 'Police Public Call Box'. This might be tricky for the smaller letters. The letters in 'Public Call' were really tiny, so I used a black felt tip pen to colour in the spaces/gaps inside them. Stick on the letters after finalising their proper positions on the black fabric.
Step 6: Accessorise!
I didn't have enough time left until the Comic Convention, so I bought myself a nice blue headband. #GoodEnough? You can also attach a real blinking light overhead, that uses batteries. You can get them in many stationary or gift shops.
Hats made by chart papers can also be used. You could even try a customised top hat!
Couple the outfit with some nice black shoes. Attach a (TARDIS!) key like a pendent, and wear it as a necklace. Works perfectly.
Step 7: Finally, to top the look, freshen up, put on some makeup, sprinkle some golden bronzer all over yourself (how about some golden nail paint?) and VOILA!
You're now a Time And Relative Dimension In Space! :D
~*~